
Rassegna stampa estera/Web
|
|
Rassegna stampa estera/Web |
Fort Campbell
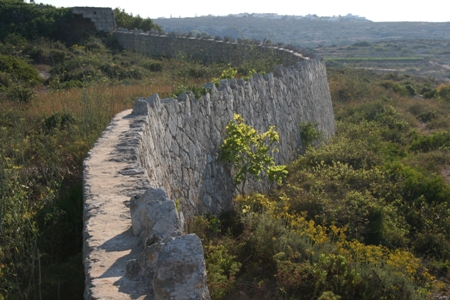
Image 2: The perimeter wall of Fort Campbell is highly irregular in such a way to resemble the arrangement of the surrounding terraced fields. This made it more difficult for the enemy to recognize the presence of this fort. (Image Source: Author’s collection).
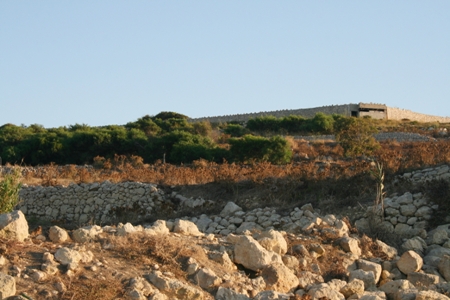
Image 3: The differences between the rubble wall below and the perimeter wall of Fort Campbell above are very minimal. (Image Source: Author’s collection).
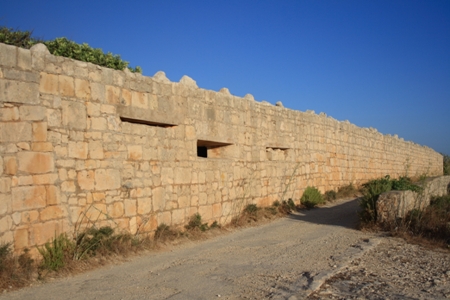
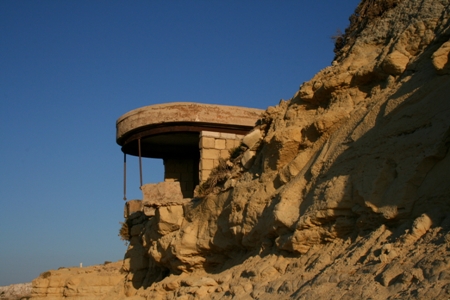
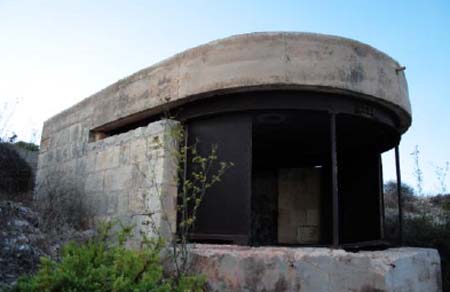
Images 4: Two perimeter concrete machine bunkers. (Image Source: Author’s collection).
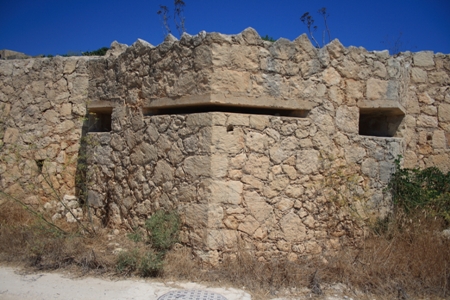
Images 5: Two perimeter concrete machine bunkers. (Image Source: Author’s collection).
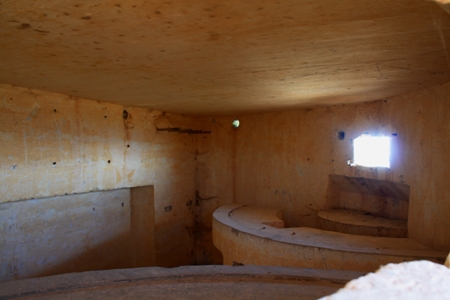
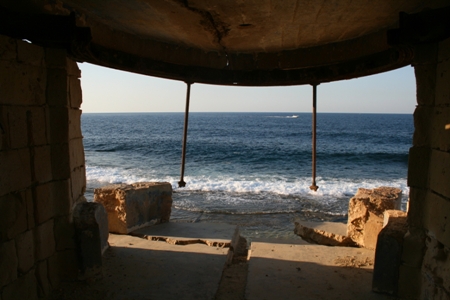
Image 6: Interior view of one of the perimeter concrete machine gun bunkers. Note the semicircular seating arrangement for the gunner hugging the machine gun emplacement. (Image Source: Author’s collection).

Image 7: Inner view of the rifle loop-holes defending certain parts of Fort Campbell. (Image Source: Author’s collection).
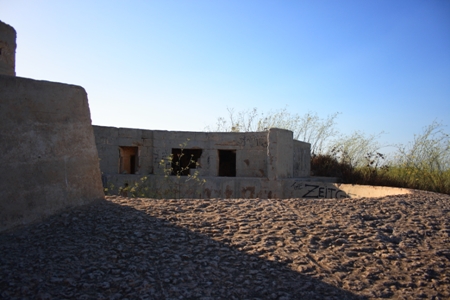
Image 8: A view of one of the 6 inch BL coastal gun emplacements. (Image Source: Author’s collection).
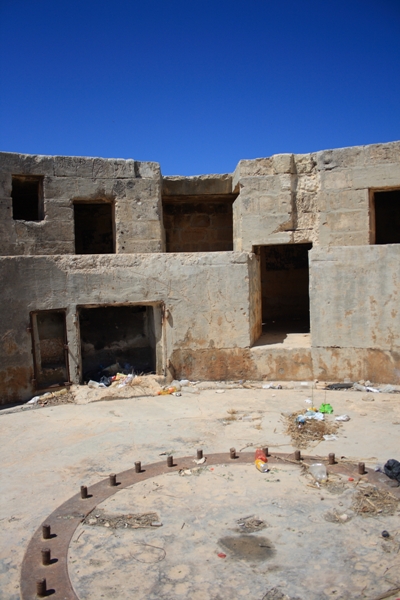
Image 9: A view of the shallow gun pit and the mounting screws onto which the 6 inch BL coastal gun was anchored. (Image Source: Author’s collection).
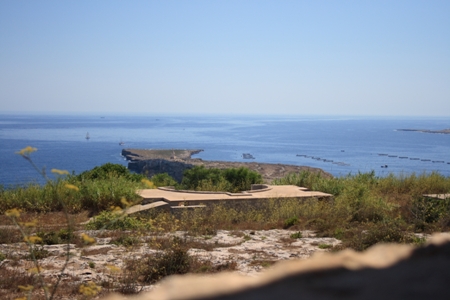
Image 10: A view of one of the 6 inch BL coastal gun emplacement as seen from the BOP. (Image Source: Author’s collection).
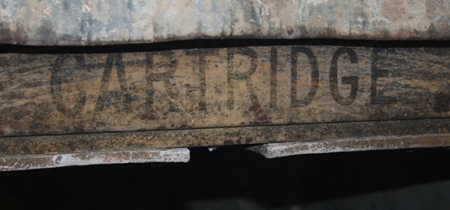
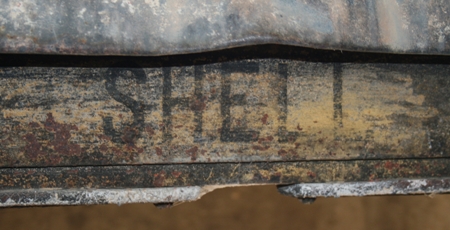
Images 11a and 11b: Detail showing the labelling of the cubicles inside the loading chamber of the gun emplacements. (Image Source: Author’s collection).
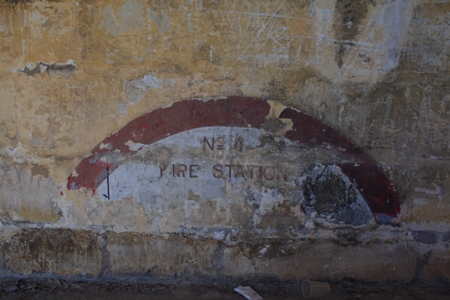
Image 12: A fire station inside the loading chamber of the gun emplacement. Each fire station was numbered. (Image Source: Author’s collection).
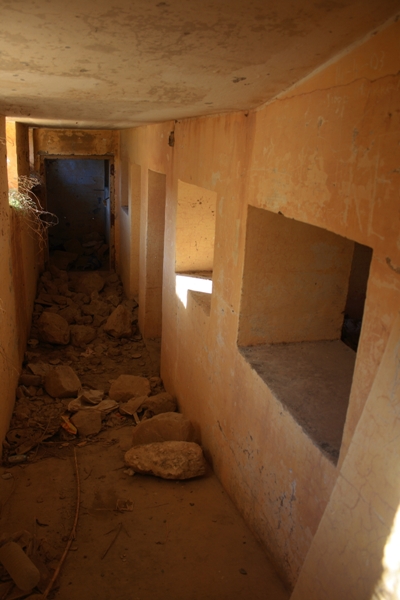
Image 13: The passage that leads to three submerged rooms which were once used to accommodate the gun crew. (Image Source: Author’s collection).
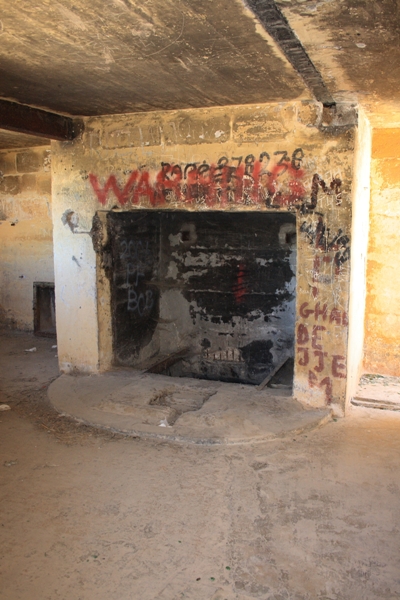
Image 14: Interior view of the loading chamber showing the large opening that leads to the underground magazine.
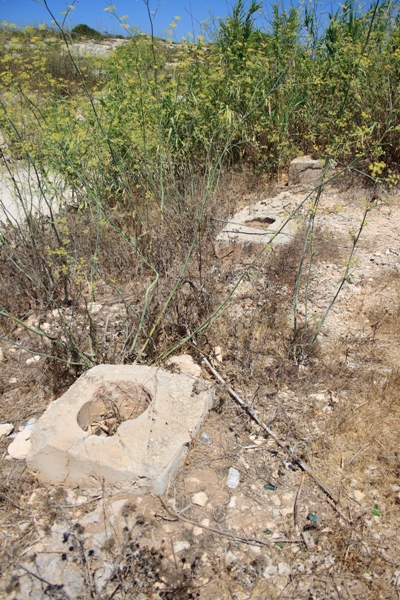
Image 15: Three large openings that were probably used to ventilate the underground magazine. (Image Source: Author’s collection).
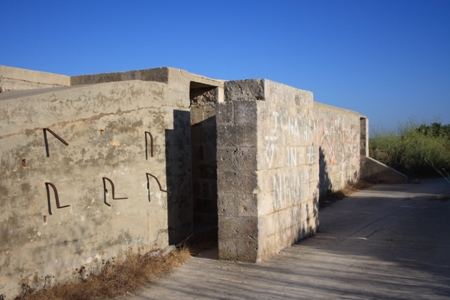
Image 16: A blast protection wall. (Image Source: Author’s collection).

Image 17: A view of the gun pit and the ammunition magazine for the anti-aircraft gun. (Image Source: Author’s collection).
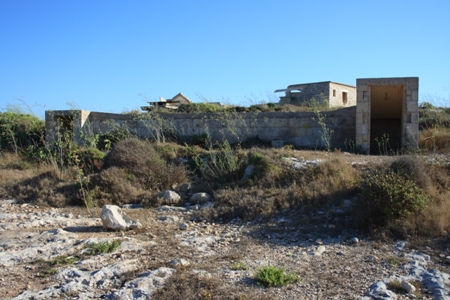
Image 18: A view of the partially underground building used for the anti-aircraft gun crew accommodation. (Image Source: Author’s collection).
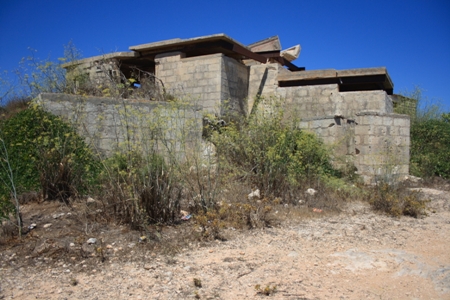
Image 19: A view of Fort Campbell’s Battery Observation Post and the two entrances that led to the underground Plotting Room. (Image Source: Author’s collection).

Image 20: Detail of the floor of the Position Finding Cell within the BOP. (Image Source: Author’s collection).
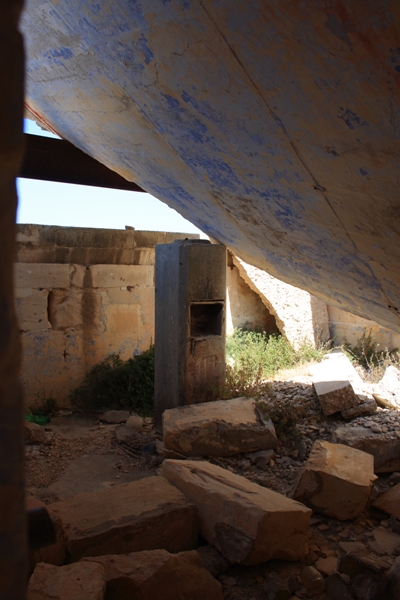
Image 21: Interior view of the gun control room in the BOP. Unfortunately the concrete roof gave way and collapsed. (Image Source: Author’s collection).
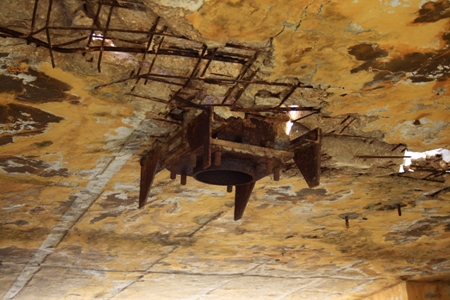
Image 22: The remains of the roof mounting that once supported the Coastal Artillery No.1 Mark 2 Radar on the BOP. (Image Source: Author’s collection).
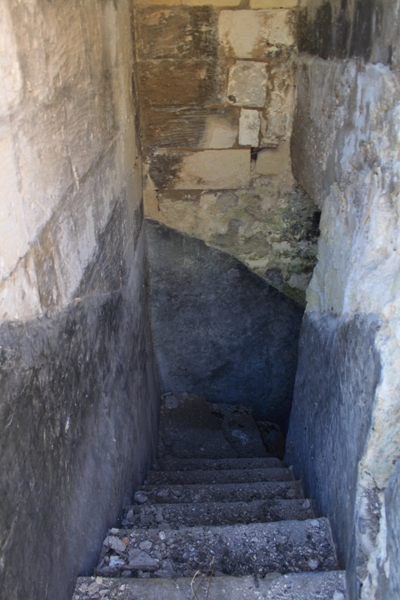
Image 23: One of the stairways that led to the underground plotting room.
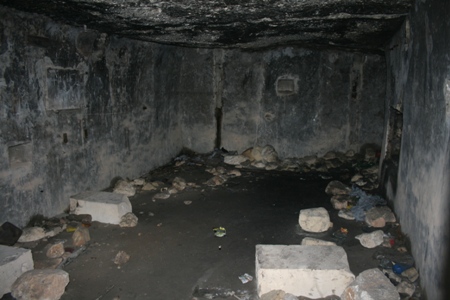
Image 24: Interior view of the underground plotting room. The electrical conduits and switches that used to control the lighting of this room are still intact. (Image Source: Author’s collection).
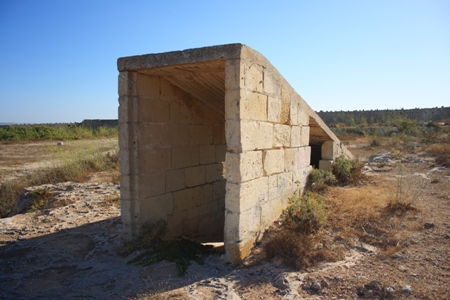
Image 25: The entrance leading to the underground radar engine room. (Image Source: Author’s collection).
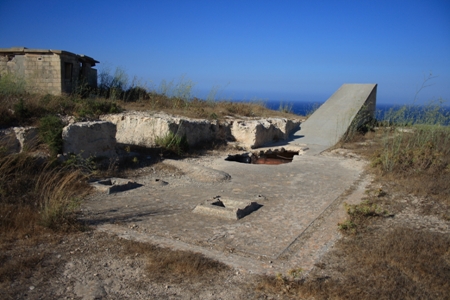
Image 26: A view of the roof of the underground radar engine room. Notice two of the three square openings that used to ventilate this underground engine room. Unfortunately, the concrete roof of this room is collapsing. (Image Source: Author’s collection).
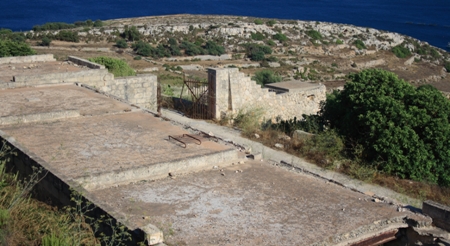
Image 27: A view of the main gate of Fort Campbell. (Image Source: Author’s collection).
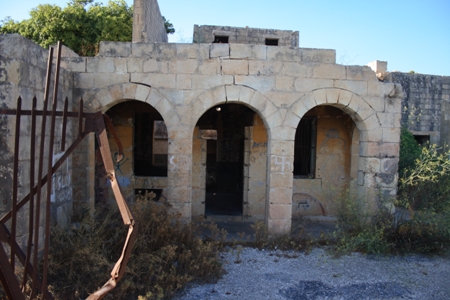
Image 28: The guard room was located just behind the fort’s main gate. (Image Source: Author’s collection).
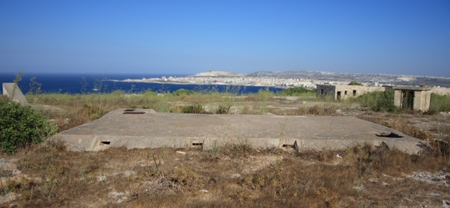
Image 29: The underground water tank. (Image Source: Author’s collection).
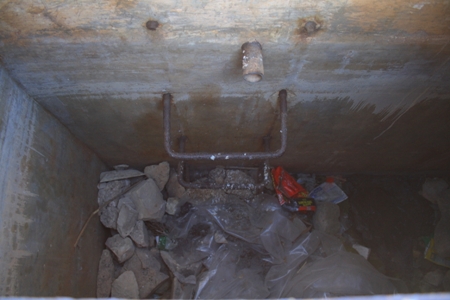
Image 30: Detail showing the metal rungs that allowed the British troops to enter and check the interior of the water tank. Furthermore one can also note the pipe that used to carry the fresh water to be stored inside the tank. (Image Source: Author’s collection).

Image 31: One of the many rock-hewn underground shelters inside Fort Campbell. (Image Source: Author’s collection).
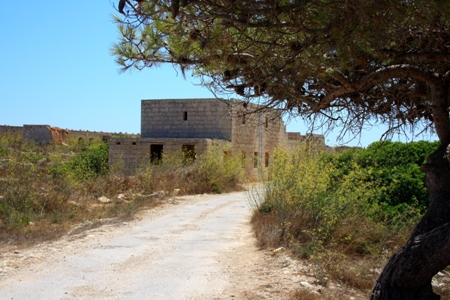
Image 32: Dining and Cooking took place inside this building. (Image Source: Author’s collection).
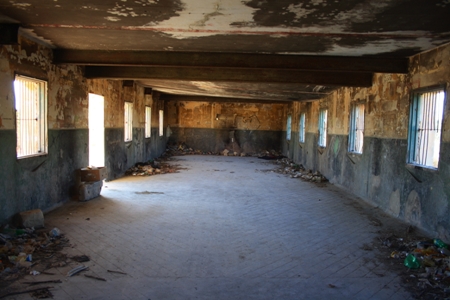
Image 33: Interior view of the dining room. The iron beams that supported the roof were removed. As a result the concrete roof is caving in under its own weight (Image Source: Author’s collection).
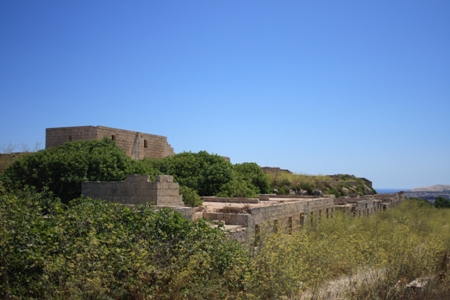
Image 34: A view of the Barrack Blocks that housed the British infantry stationed at Fort Campbell. (Image Source: Author’s collection).
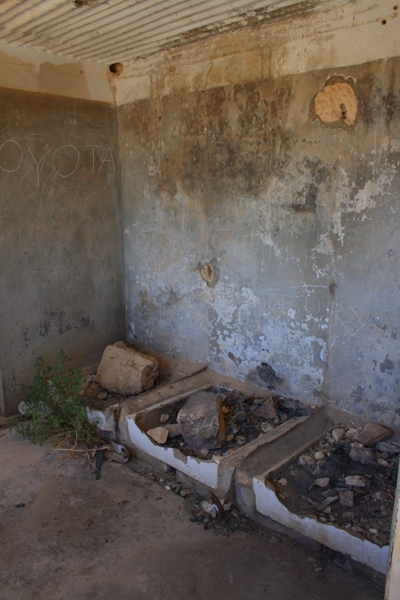
Image 35: The remains of three shower bases inside the Ablution Room. (Image Source: Author’s collection).
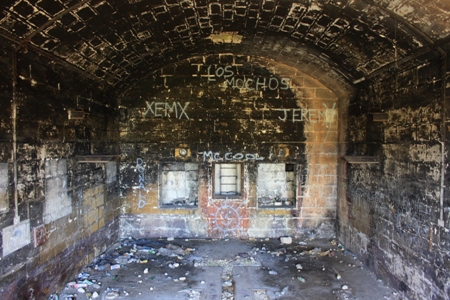
Image 36: A view of the barrel vaulted room that once housed the electrical generators required to power the search lights. (Image Source: Author’s collection).
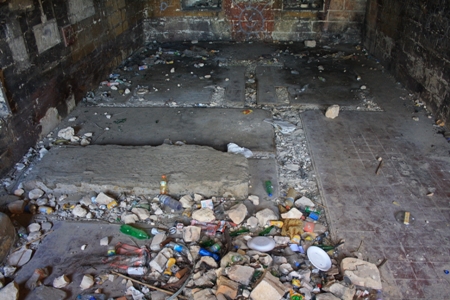
Image 37: Detail of the tiled floor of the generator room. Notice the concrete base onto which the engine and the electrical generator were mounted as well as the shallow channels on the ground that carried pipes or cables to or from the engines/generators. (Image Source: Author’s collection).

Images 38, 39, 40 and 41: Views of the three concrete emplacements in which the defence electric lights were housed. The last concrete emplacement shown still retains the metal shutters. (Image Source: Author’s collection).
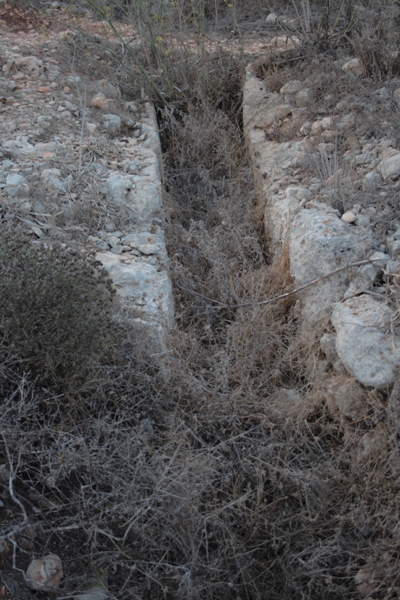
Image 42: A shallow rock hewn trench that once carried the cables to power one of the searchlights. (Image Source: Author’s collection).